React Explained: What It Is, Why It Exists, and How to Use It
The super flexible JavaScript library for modern frontend and full-stack app development
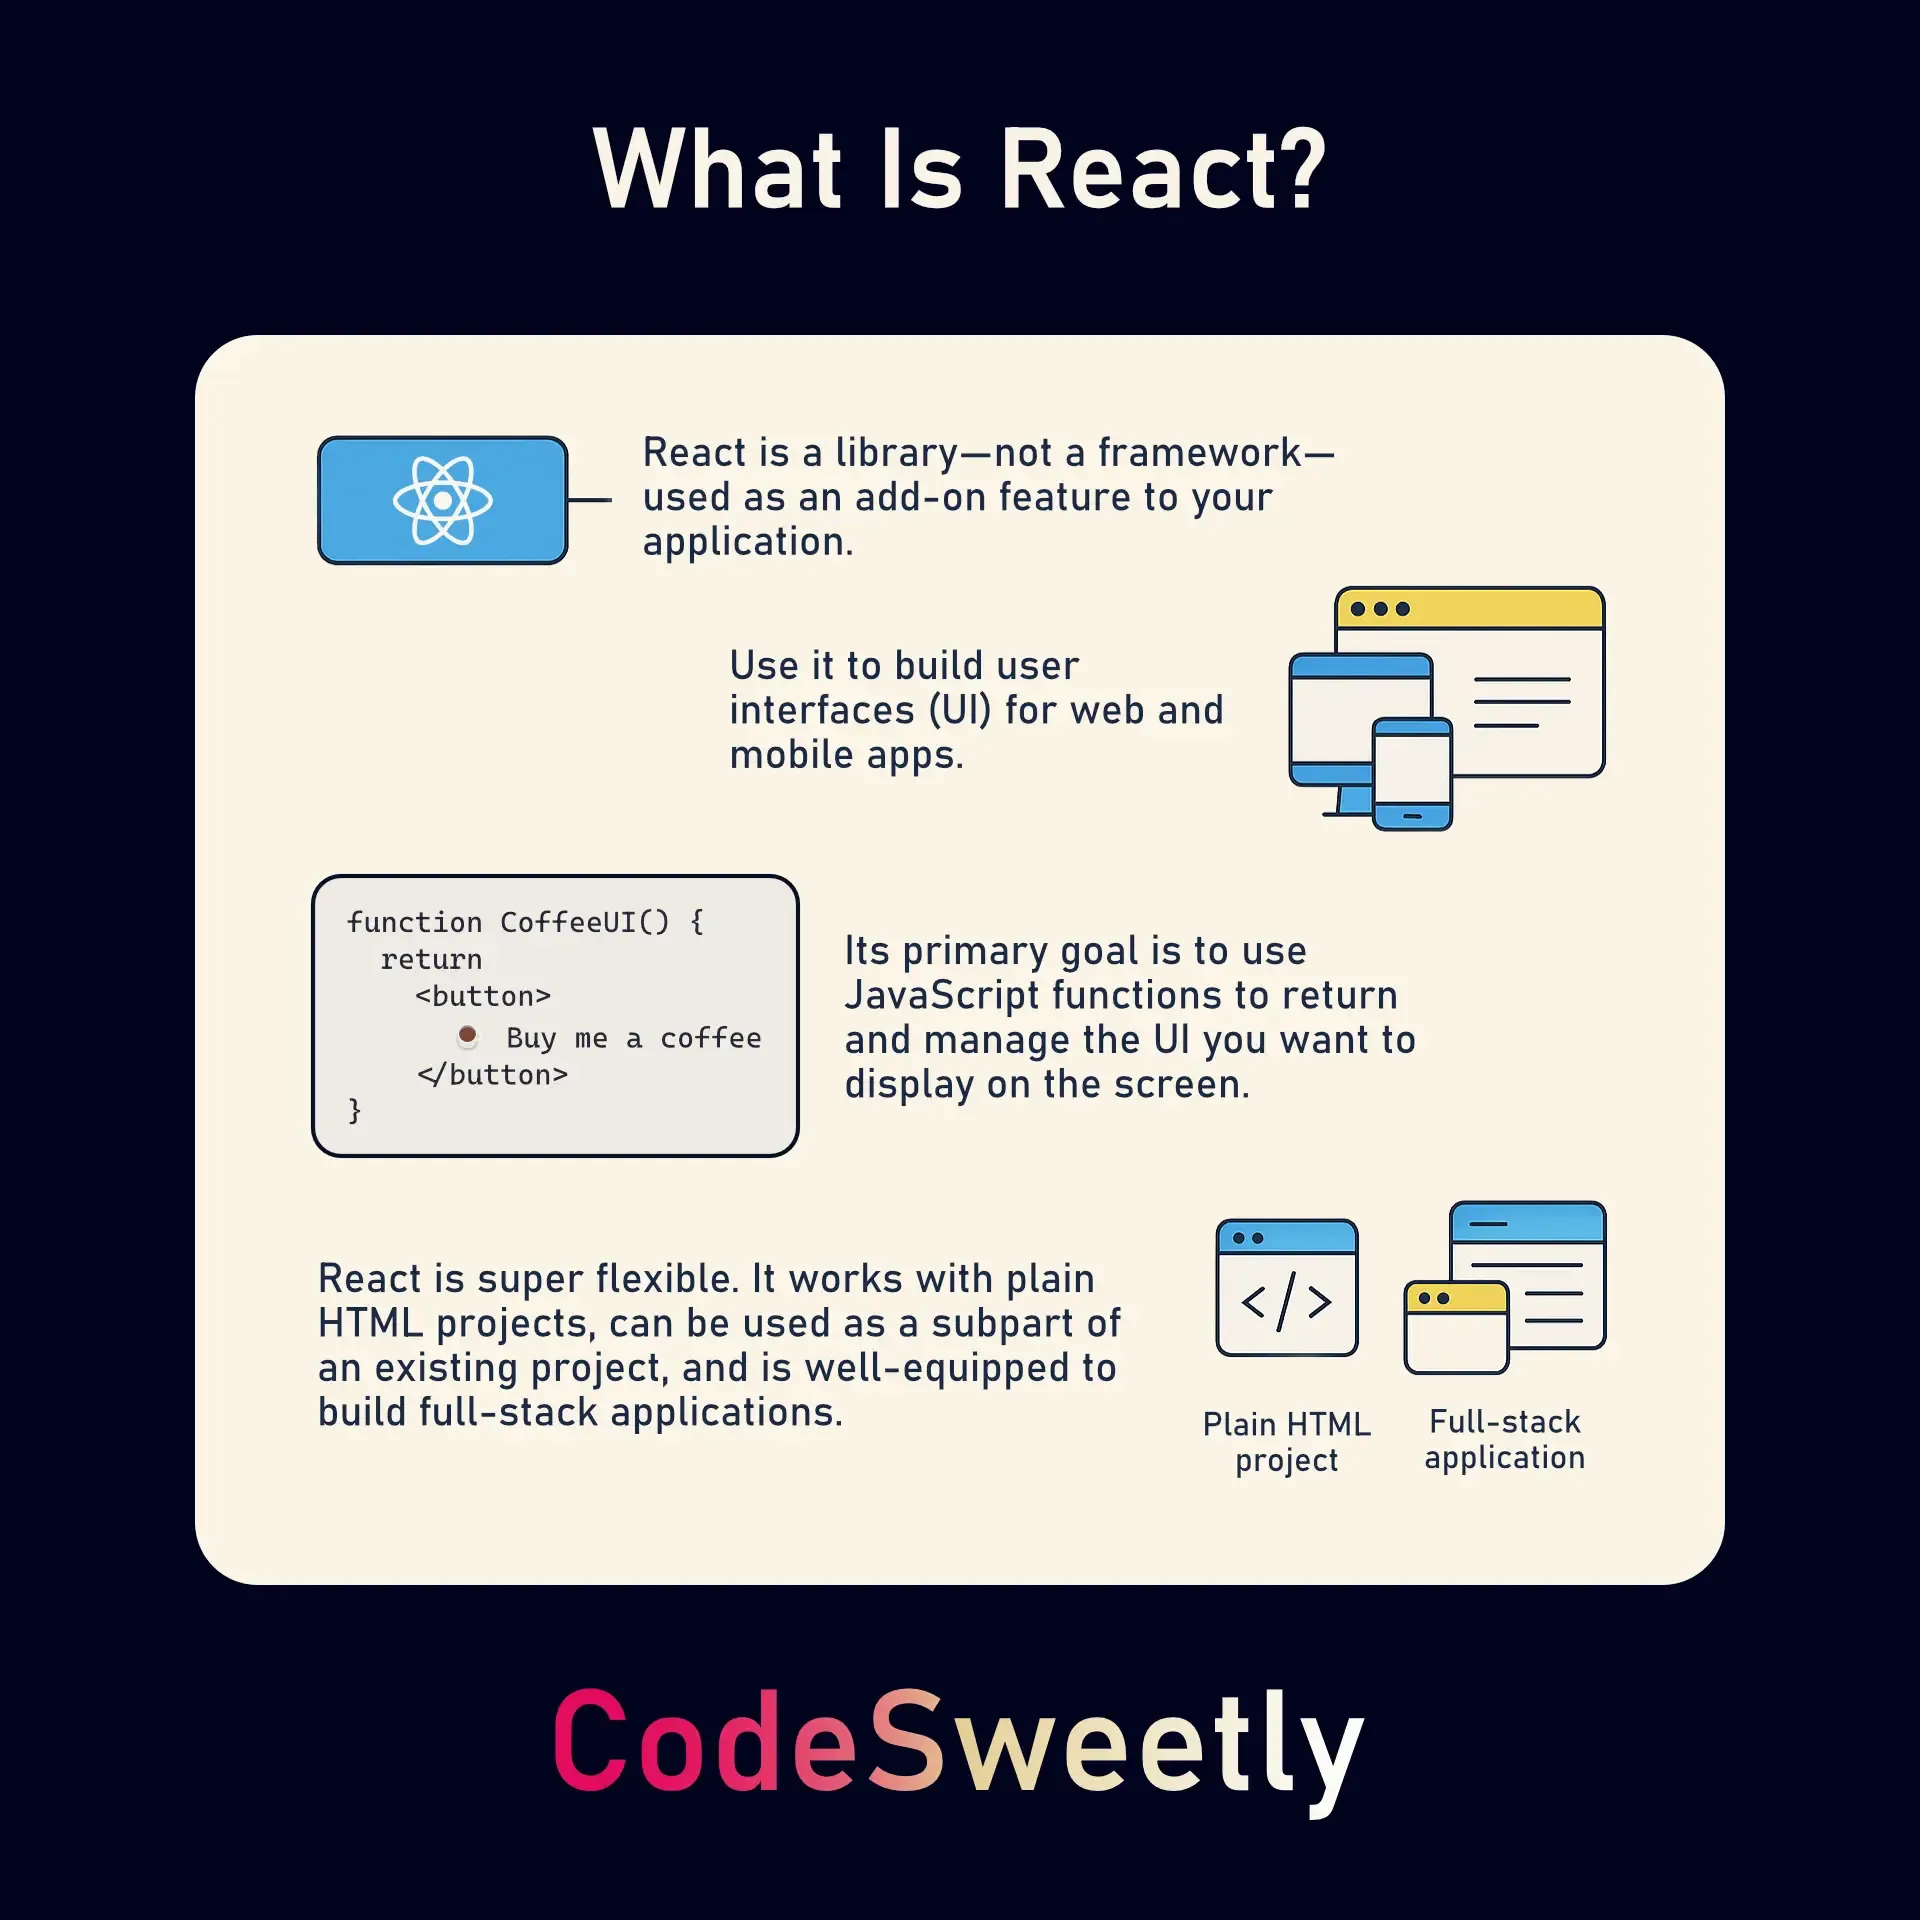
React is a component-based JavaScript library for efficiently building user interfaces (UI).
No matter how massive or miniature your project may be, React is well-suited to help you develop any web application efficiently.
Developers primarily use ReactJS to build independent, reusable components that can be combined with other isolated user interfaces to create highly scalable applications. For instance, the image below illustrates the individual components of YouTube’s video player page.
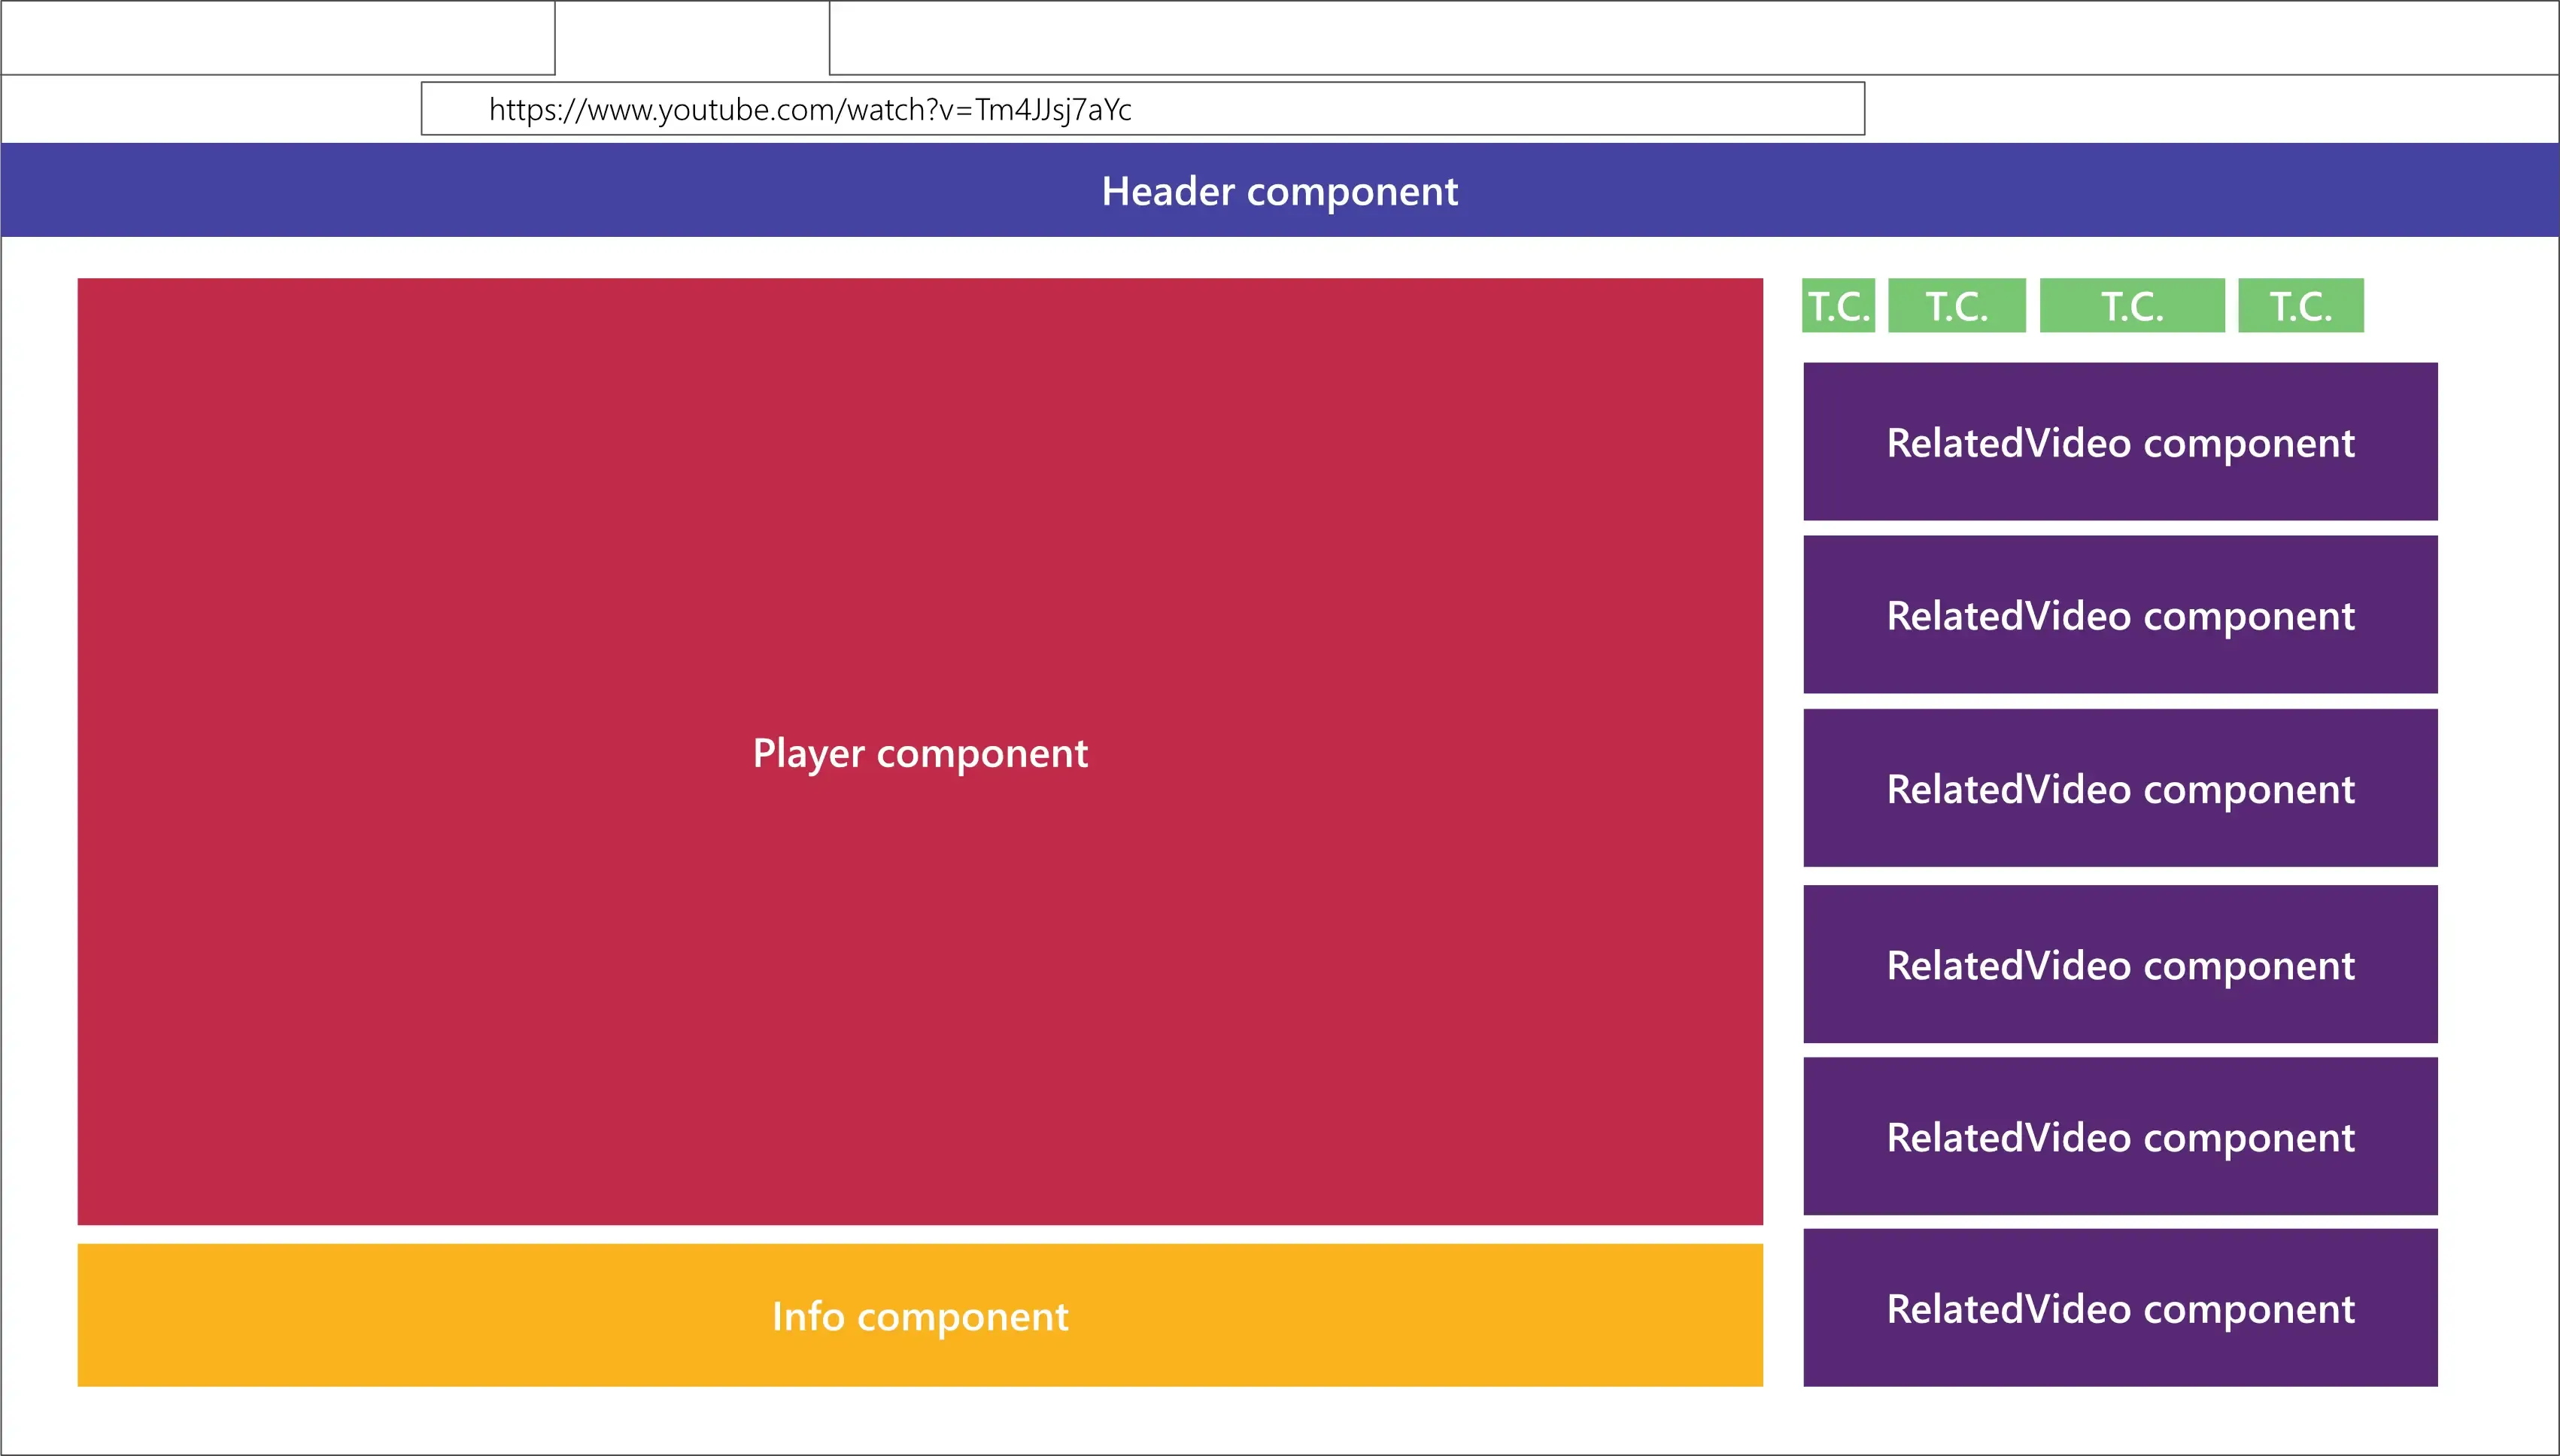
The YouTube video player page is illustrated as a combination of independent components.
In other words, React helps build complex UIs from small, isolated components that can easily be reused in multiple applications. Each independent component tells React the exact element you want to display on screen.
Why the “React” Name?
Section titled “Why the “React” Name?”The name stems from the idea that React renders your UI and reacts to events in the user interface it has rendered on screen.
Is React a Framework?
Section titled “Is React a Framework?”No, React is a library—not a framework. React serves only as an add-on feature to your application. It is not designed to be used as an app’s primary support system.
Is React Only for Web Development?
Section titled “Is React Only for Web Development?”No, it is not used only on the web. For instance, ReactDOM helps build web applications, and React Native helps build mobile applications.
What’s the Primary Goal of React?
Section titled “What’s the Primary Goal of React?”React’s primary goal is for you to use JavaScript functions to return and manage the UI (HTML element) you want to render (display) on the screen. For instance, consider the following:
function DonationUserInterface() { return <button>☕ Buy me a coffee</button>;}The JavaScript function above is a React component that returns the UI (HTML button element) we want to display on screen and manage with React. In fact, let’s implement the DonationUserInterface component on a live website using only HTML and JavaScript—no frameworks.
Adding React Component to a Website
Section titled “Adding React Component to a Website”Follow the steps below to add a donation UI component to a live HTML website.
Creating a new project directory
Section titled “Creating a new project directory”Create a new folder for your project like so:
mkdir codesweetly-donation-ui-001Afterward, navigate to your project directory using the command line.
cd path/to/codesweetly-donation-ui-001Creating a DOM container
Section titled “Creating a DOM container”To add a React component to a webpage, you first need to specify the section of the page where you want to insert the UI. So, create an HTML page:
touch index.htmlAfterward, open the new file and add the following code:
<!DOCTYPE html><html lang="en-US"> <head> <meta charset="utf-8" /> <meta name="viewport" content="width=device-width, initial-scale=1" /> <title>CodeSweetly Donation UI</title> </head> <body> <!-- A div container (the DOM node) created for React to manage --> <div id="donation-ui"></div> </body></html>The snippet above created a DOM node (<div> element)—inside which we want React to display and manage a donation user interface. In other words, the <div> represents the website’s section you want React to manage.
Importing React, Babel, and your component
Section titled “Importing React, Babel, and your component”Use script tags to load React, Babel, and your component into your project’s HTML page.
<!DOCTYPE html><html lang="en-US"> <head> <meta charset="utf-8" /> <meta name="viewport" content="width=device-width, initial-scale=1" /> <title>CodeSweetly Donation UI</title> <!-- Load the React Library --> <script src="https://unpkg.com/react@18/umd/react.development.js"></script> <!-- Load the ReactDOM API --> <script src="https://unpkg.com/react-dom@18/umd/react-dom.development.js"></script> <!-- Load the Babel Compiler --> <script src="https://unpkg.com/@babel/standalone/babel.min.js"></script> </head> <body> <div id="donation-ui"></div> <!-- Load your React component --> <script type="text/babel" src="DonationUserInterface.js"></script> </body></html>The snippet above used the first three script tags to load React, ReactDOM, and Babel from unpkg.com.
At the same time, we used the fourth script tag to import our donation component (which we will create in the following section).
Creating your component
Section titled “Creating your component”Create a DonationUserInterface.js JavaScript file inside the same folder in which your HTML file is located.
touch DonationUserInterface.jsThen, paste the following code inside the JavaScript file you’ve just created:
function DonationUserInterface() {  const [donate, setDonate] = React.useState(false);
  function createUserInterface() {    if (donate) {      return (        <p>          <a href="https://www.buymeacoffee.com/codesweetly">Support page</a>.          Thank you so much! 🎉        </p>      );    }    return <button onClick={() => setDonate(true)}>☕ Buy me a coffee</button>;  }  return createUserInterface();}
const root = ReactDOM.createRoot(document.getElementById("donation-ui"));root.render(<DonationUserInterface />);
The snippet above did the following:
- Define a component named
DonationUserInterface. - Initialize the component’s state (built-in object) with the Boolean value
false. - Program the component to return a paragraph element if the state’s
donatevariable istrue. Otherwise, it should return a button element. - Create a React root for the
donation-uiHTML element you want React to manage and assign it to therootvariable. - Use
createRoot’srender()method to display theDonationUserInterfacecomponent inside the root’sdonation-uielement.
Configuring a local server
Section titled “Configuring a local server”HTML files containing ES modules work only through http:// and https:// URLs, not locally via a file:// URL.
Since we previously used the type="text/babel" attribute to convert the DonationUserInterface.js JavaScript file to an ES module, we need a local server, like Live Server or Servor, to load the HTML document via an http:// scheme. Let’s install Servor so we can use it for this project.
Installing the Servor local server
Section titled “Installing the Servor local server”npm i servor -DRunning your app
Section titled “Running your app”After installing Servor, use it to start your app from your terminal:
npx servor --browse --reloadAnd that’s it!
Section titled “And that’s it!”You’ve successfully added a React component to a live website using a JavaScript function to render a donation UI on screen! 🎉
Why Use HTML Inside JavaScript?
Section titled “Why Use HTML Inside JavaScript?”Are you asking why we are writing HTML inside JavaScript? Well, that HTML-like code is called JSX. Learn about it in the JSX tutorial.