GitHub Tutorial for Beginners – How to Use GitHub
GitHub is a web-based platform where users can host Git repositories. It helps you facilitate easy sharing and collaboration on projects with anyone at any time.
GitHub also encourages broader participation in open-source projects by providing a secure way to edit files in another user’s repository.
How to Host a Git Repository on GitHub
Section titled “How to Host a Git Repository on GitHub”To host (or share) a Git repository on GitHub, follow the steps below:
Step 1: Signup for an account
Section titled “Step 1: Signup for an account”The first step to begin hosting on GitHub is to create a personal account—you can sign up on the official registration page.
Step 2: Create a GitHub remote repository
Section titled “Step 2: Create a GitHub remote repository”After signing up for an account, create a home (a repository) in GitHub, for the Git repository you want to share.
Step 3: Connect your project’s Git directory to the remote repository
Section titled “Step 3: Connect your project’s Git directory to the remote repository”Once you’ve created a remote repository for your project, link the project’s .git directory—located locally on your system—with the remote repository on GitHub.
To connect to the remote repository, go inside the root directory of the project you want to share via your local terminal and run:
git remote add origin https://github.com/your-username/app-repo-name.gitNote the following:
- Replace
your-usernamein the code above with your GitHub username. Likewise, replaceapp-repo-namewith the name of the remote repository you want to connect to. - The command above implies that Git should add the specified URL to the local project as a remote reference with which the local
.gitdirectory can interact. - The
originoption in the command above is the default name (a short name) Git gives to the server hosting your remote repository. In other words, instead of the server’s URL, Git uses the short name (origin). - It is not compulsory to stick with the server’s default name. If you prefer another name rather than
origin, substitute theoriginname in thegit remote addcommand above with any name you prefer. - Remember that a server’s short name (e.g.,
origin) is nothing special! It only exists—locally—to help you easily reference the server’s URL. So, feel free to change it to a short name you can easily reference. - To rename any existing remote URL, use the
git remote renamecommand like so:
git remote rename theCurrentURLName yourNewURLName- To remove an existing remote URL from your local repo, use the
git remote remove theRemoteURLNamecommand. For instance, you can remove theoriginremote URL from your local directory with the following command:
git remote remove origin- Whenever you clone (download) any remote repo, Git automatically names that repo’s URL
origin. However, you can specify a different name with thegit clone -o yourPreferredNamecommand. - To see the exact URL stored for nicknames like
origin, run thegit remote -vcommand.
Step 4: Confirm the connection
Section titled “Step 4: Confirm the connection”Once you’ve connected your Git directory to the remote repository, check whether the connection was successful by running git remote -v on the command line.
Afterward, check the output to confirm that the displayed URL is the same as the remote URL you intend to connect to.
Step 5: Push your local Git repo to the remote repo
Section titled “Step 5: Push your local Git repo to the remote repo”After successfully connecting your local directory to the remote repository, you can then begin to push (upload) your local project upstream.
The code syntax to upload (push) a local .git directory (your commits, branches, and files) to a remote repository is git push -u remoteName branchName.
In other words, to push your local .git directory, and assuming your remote URL’s short name is “origin”, run:
git push -u origin mainThe command above implies that Git should push your local main branch to the remote main branch located at the URL named origin.
In other words, the command instructs Git to push your .git directory to the remote origin branch from your local main branch.
Step 6: Confirm the upload
Section titled “Step 6: Confirm the upload”Lastly, return to your GitHub repository page to confirm that Git has successfully pushed your local Git directory to the remote repository.
How to Publish Your Website with GitHub Pages
Section titled “How to Publish Your Website with GitHub Pages”After pushing your project to your remote repository, you can publish it easily on the web by following these steps:
Step 1: HTML file name
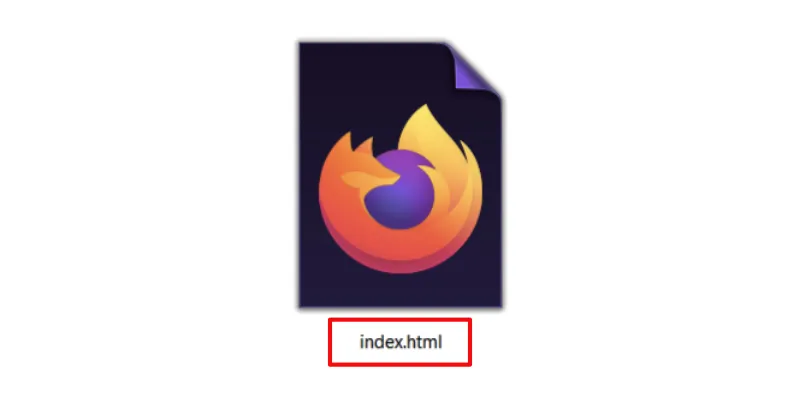
Section titled “Step 1: HTML file name”Make sure that the name of the main HTML file of your project is index.html.

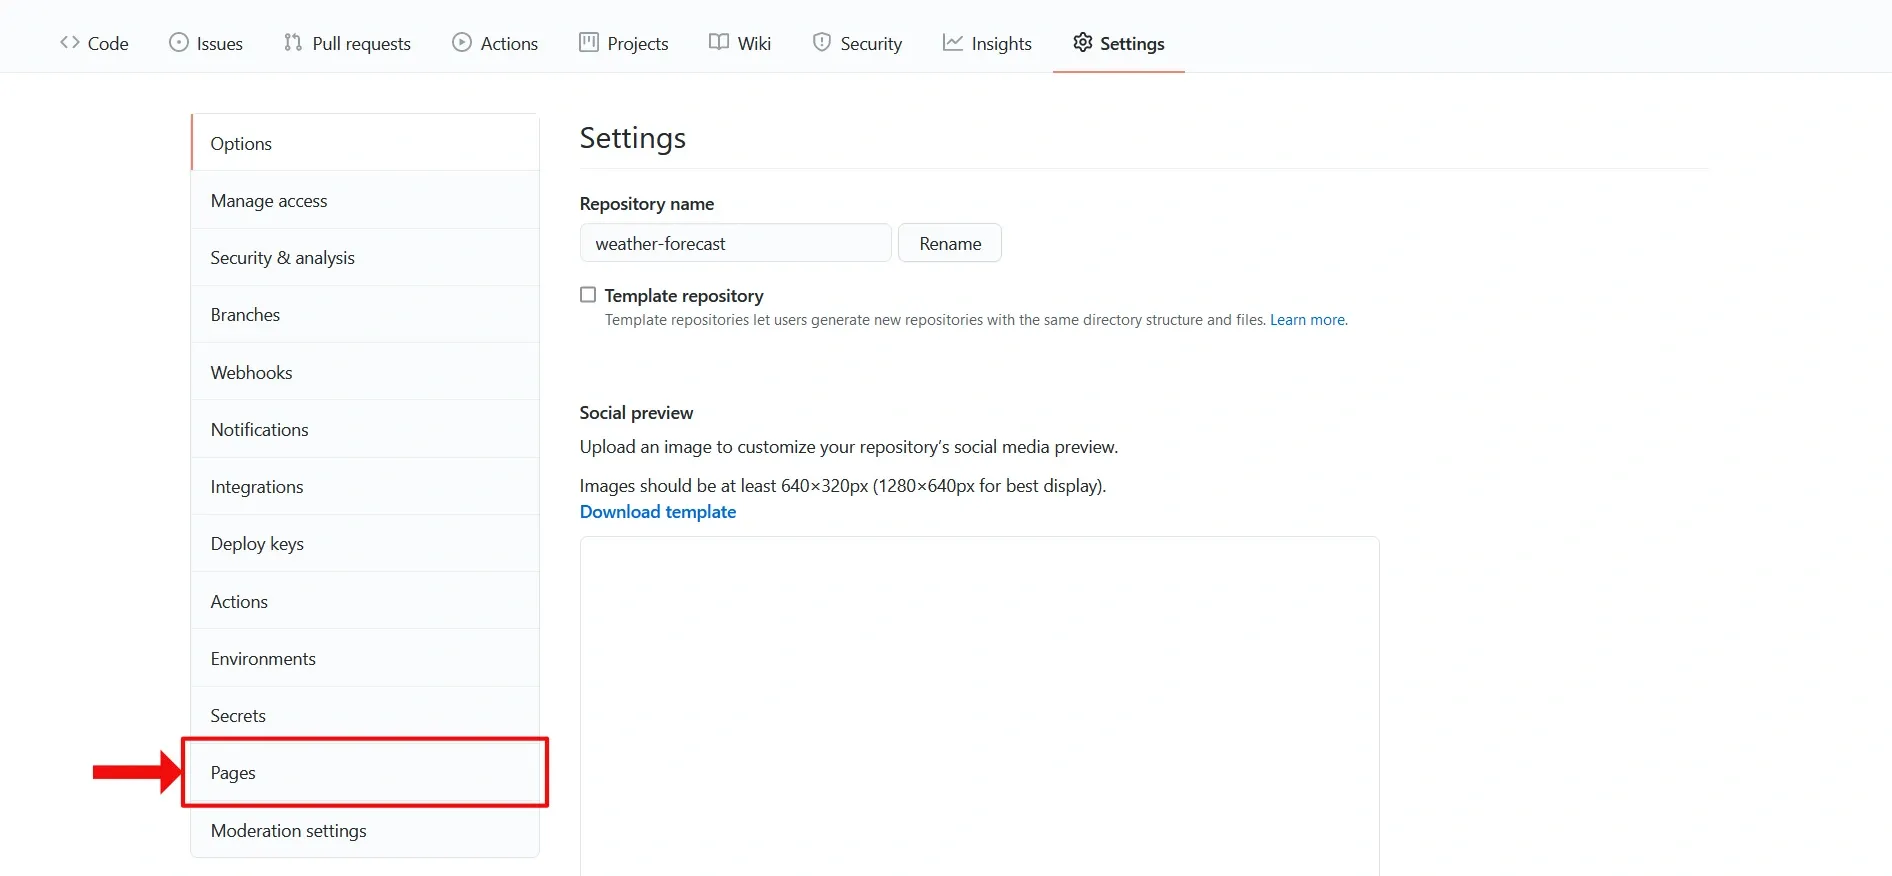
Step 2: Go to the Settings tab
Section titled “Step 2: Go to the Settings tab”On GitHub’s website platform, go into the repository of the project you want to publish and click the repository’s Settings tab.

Step 3: Go to the Pages tab
Section titled “Step 3: Go to the Pages tab”Click the Pages tab located towards the bottom of the side menu.

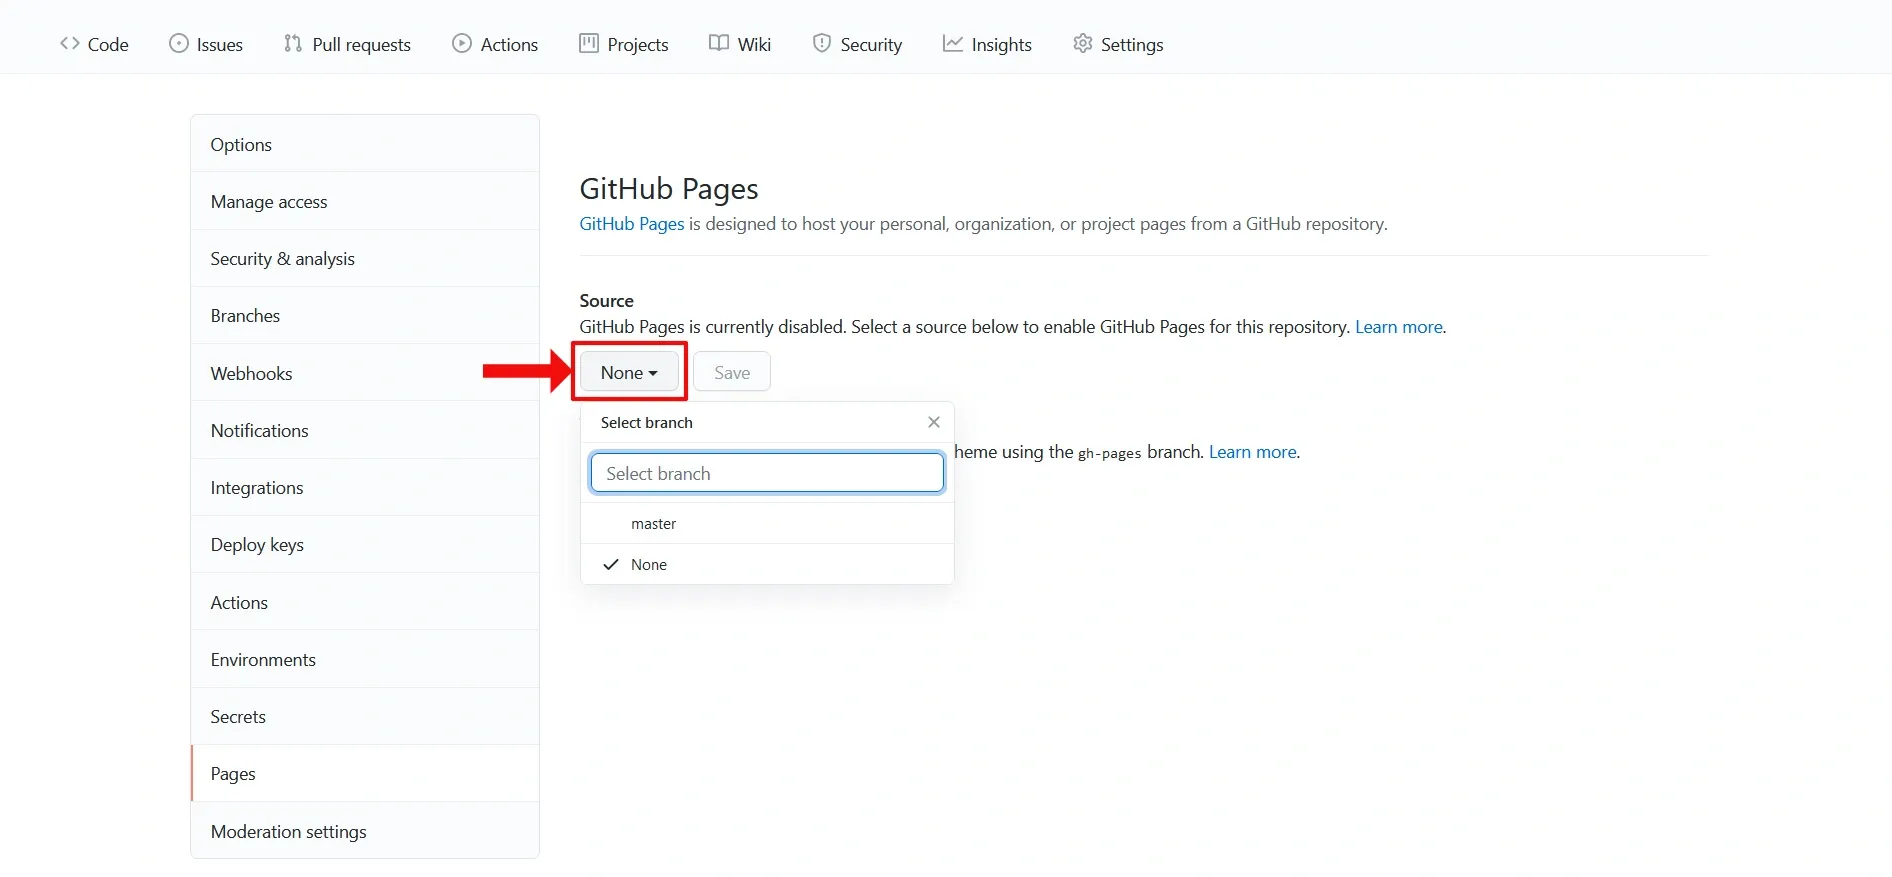
Step 4: Change the Source
Section titled “Step 4: Change the Source”Under the Build and deployment section on the GitHub Pages, change the branch from None to master (or main, if main is your remote branch’s name).

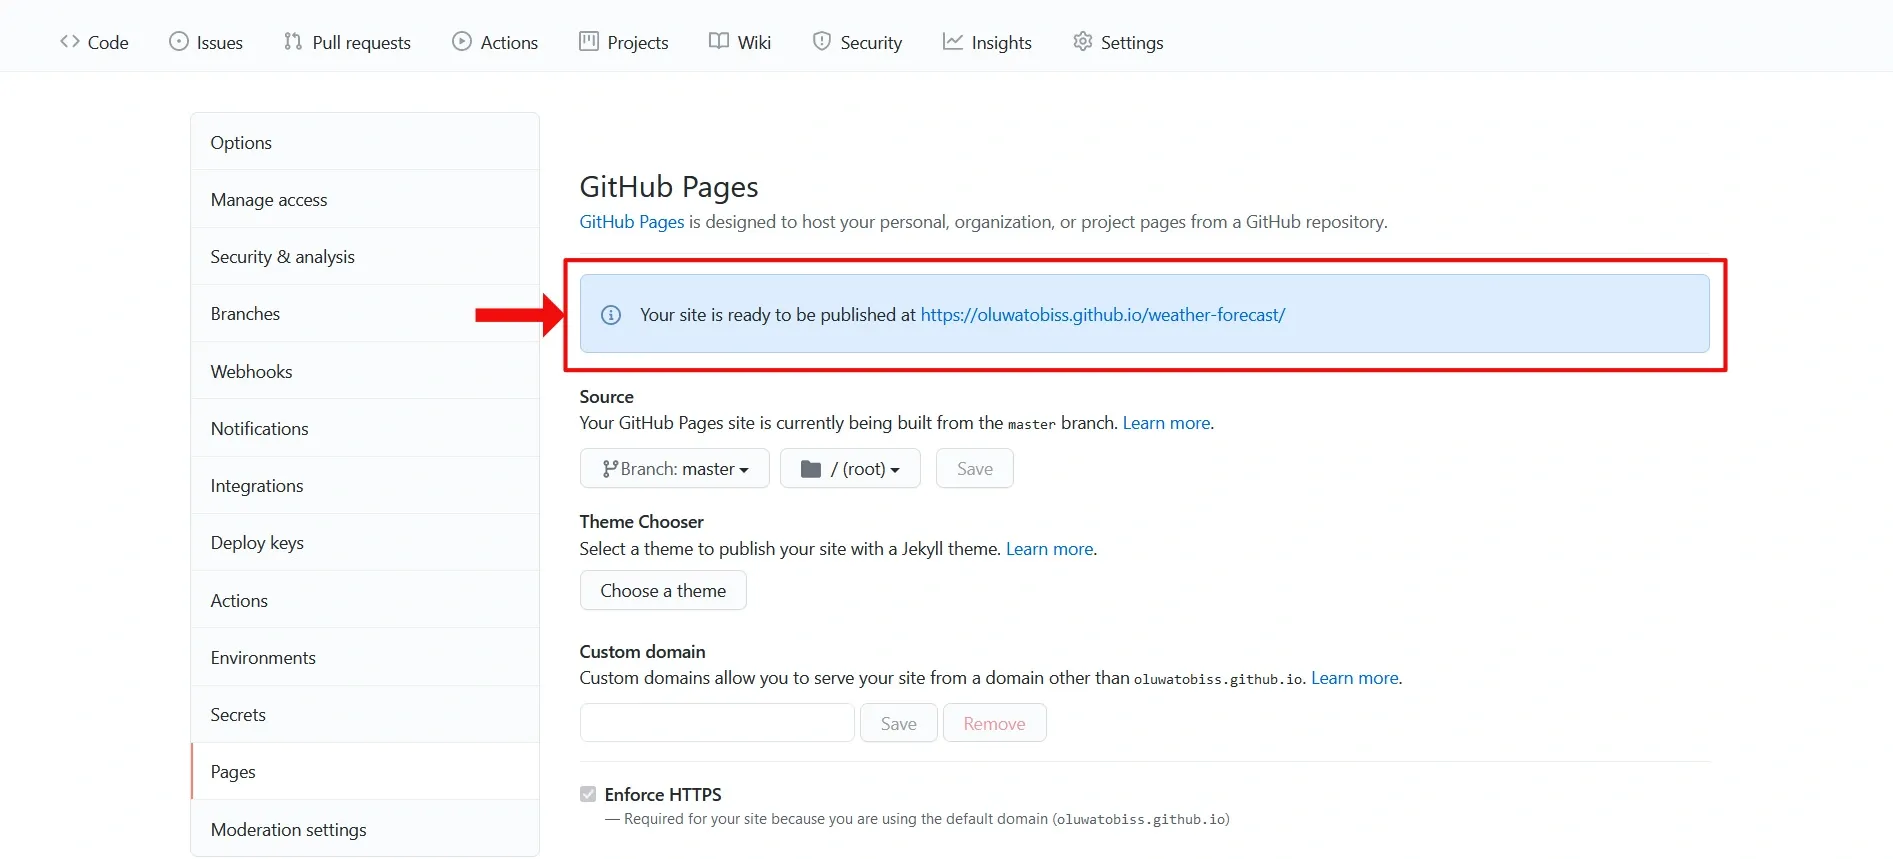
Step 5: See your site live!
Section titled “Step 5: See your site live!”A notification saying, “Your site is published at https://your-username.github.io/your-github-repo-name/” would display.

You can now view—and publicize—your project at the specified URL!
Useful Resources
Section titled “Useful Resources”- GitHub Hello World project
- A free Introduction course, by Learning Lab
- Learn more about working with GitHub pages