Double Click to Edit Text in ReactJS
This article will use a simple React project to show you how to click (or double-click) to edit a page’s text.
Here is a demo of the full-name bio app we will build:
http://localhost:3000
Without any further ado, let’s get started with the system requirements.
Get the Right Node and NPM Version
Section titled “Get the Right Node and NPM Version”Ensure your system has Node 18.18 (or greater) and NPM 10.9 (or greater) installed.
Create a New React App
Section titled “Create a New React App”Use the create-next-app package to create a new React app.
npx create-next-app@latestAfter running the above command, Next will ask the following questions:
- Ok to proceed? (y) Enter the y key on your keyboard to proceed.
- What is your project named? You can name it anything you wish—for instance,
click-text-to-edit-project-001. - Would you like to use TypeScript with this project? » No / Yes Select No, as we will use plain JavaScript in this tutorial.
- Would you like to use ESLint with this project? » No / Yes Select No as we do not wish to use ESLint in this tutorial.
- Would you like to use Tailwind CSS with this project? » No / Yes Select No as we do not wish to use Tailwind CSS in this tutorial.
- Would you like to use
src/directory with this project? » No / Yes Select No as we do not wish to use thesrc/directory in this tutorial. - Use App Router (recommended)? » No / Yes Select Yes as we are ok using Next’s App router configurations. (Don’t worry if you know nothing about the App Router. We are only using Next’s basic functionalities to learn how to create an image gallery.)
- Would you like to use Turbopack for
next dev? » No / Yes Select Yes as we are ok using the Turbopack for faster local development. (Again, don’t worry if you know nothing about Turbopack.) - Would you like to customize the default import alias? » No / Yes Select No as we are okay with using Next’s default import alias for this test-app.
Once you’ve answered all the questions, Next.js will create your new app.
Go Inside the Project Directory
Section titled “Go Inside the Project Directory”After the installation process, navigate into the project directory:
cd click-text-to-edit-project-001Create the ElementMaker Component
Section titled “Create the ElementMaker Component”Here is where the wonders happen!
Create an ElementMaker.js file in your project’s app directory.
touch app/ElementMaker.jsAfterward, open the newly created file and replicate the code below. We will go through its explanation afterward.
// Create an ElementMaker componentexport default function ElementMaker(props) { return ( <span> { // Use JavaScript's ternary operator to specify <span>'s inner content props.showInputEle ? ( <input type="text" value={props.value} onChange={props.handleChange} onBlur={props.handleBlur} autoFocus style={{ fontSize: "37px" }} /> ) : ( <span onDoubleClick={props.handleDoubleClick} style={{ display: "inline-block", height: "50px", minWidth: "300px", }} > {props.value} </span> ) } </span> );}In the snippet above, we did the following:
- We created an
ElementMakercomponent that returns the<span>element we want React to render to the browser. - We used the ternary operator to specify the
<span>’s inner content. The ternary operator says that ifprops.showInputEle’s value is truthy, the computer should use the given<input>element as the<span>’s inner content. However, ifprops.showInputEle’s value is falsy, the computer should use a second<span>element as the first<span>’s inner content.
Note: We’ve not defined showInputEle, but we will do that soon. For now, though, you may have observed that we specified five attributes on the <input> element: type, value, onChange, onBlur, and autoFocus. Here is the purpose of each attribute:
- The
type="text"attribute specifies that the<input>element is a single-line text field. - We used the
valueattribute to set the<input>element’s content to thepropsparameter’svalueproperty. onChangeis an event listener that will trigger thehandleChangefunction whenever<input>’s value changes.onBluris an event listener that will trigger thehandleBlurfunction whenever<input>loses focus. In other words,onBlurwill invokehandleBlurwhenever users click out of the<input>field.autoFocusis a Boolean attribute that tells the browser to focus automatically on the<input>element when the page loads.
We also specified an onDoubleClick event listener on the second <span> element. The onDoubleClick listener will trigger the handleDoubleClick function whenever users double-click the <span> element.
Invoke the ElementMaker Component
Section titled “Invoke the ElementMaker Component”Remember that we aim to display a full-name bio that users can double-click to edit. So, open the page.js file located in the app folder of your Next.js application.
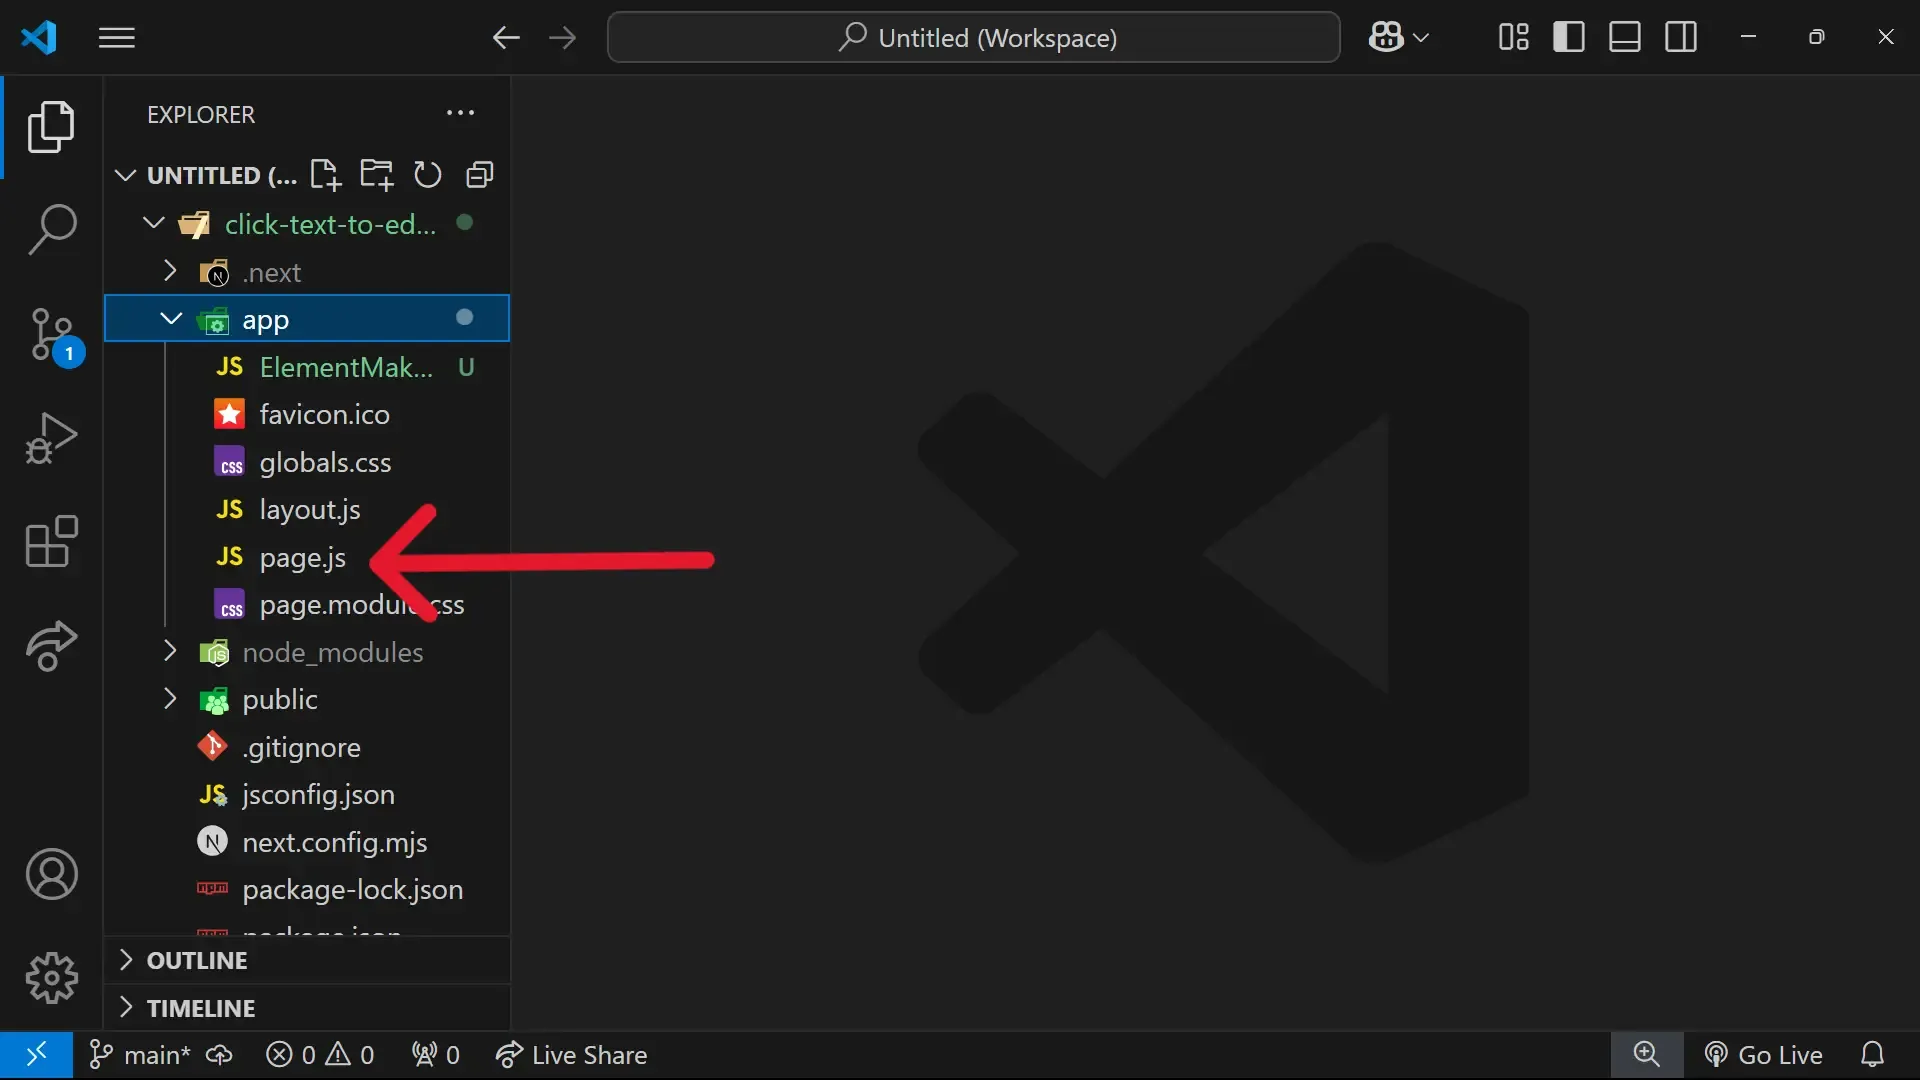
Red arrow pointing to the app directory’s page.js file.
Then, delete its content and replicate the following code. We will go through its explanation afterward.
"use client";import { useState } from "react";import ElementMaker from "./ElementMaker";
// Create a HomePage componentexport default function HomePage() {  // Set HomePage's state  const [fullName, setFullName] = useState("Joe Abraham");  const [showInputEle, setShowInputEle] = useState(false);
  return (    <div style={{ padding: "50px" }}>      <h1 style={{ marginBottom: "70px" }}>        Double-click the Full Name’s Value to Edit      </h1>      <div style={{ fontSize: "37px" }}>        <strong>Full Name: </strong>        {/* Invoke the ElementMaker component with some attributes */}        <ElementMaker          value={fullName}          handleChange={(e) => setFullName(e.target.value)}          handleDoubleClick={() => setShowInputEle(true)}          handleBlur={() => setShowInputEle(false)}          showInputEle={showInputEle}        />      </div>    </div>  );}
In the snippet above, we did the following:
- We imported our
ElementMakercomponent from theElementMaker.jsfile. - We created a
HomePagecomponent and defined its states.- The
fullNamestate stores each content the user types intoElementMaker’s<input>element. Note that we used"Joe Abraham"as the initial value of thefullNamestate. - The
showInputElestate stores the Boolean valuetrueorfalse. Remember that we used theshowInputEleproperty inElementMakerto determine the<span>’s inner content.
- The
HomePage’sreturnstatement used the<ElementMaker />code to invoke theElementMakercomponent. Then, we passed some attributes toElementMaker’spropsparameter. The attributes we passed arevalue,handleChange,handleDoubleClick,handleBlur, andshowInputEle.- The
valueattribute referencesHomePage’sfullNamestate. handleChange’s function updates thefullNamestate with theElementMaker’s input element’s value.handleDoubleClick’s function updates theshowInputElestate with the Boolean valuetrue.handleBlur’s function updates theshowInputElestate with the Boolean valuefalse.- We initialized
showInputElewith theshowInputElestate.
- The
Making Sense of It All
Section titled “Making Sense of It All”Now that we’ve completed the coding, let’s discuss how the browser will implement it.
- When the browser loads the homepage, it will read
page.jsand render its<h1>and<strong>elements. - On getting to the
<ElementMaker />code, the browser will invoke theElementMakercomponent and pass in the specified attributes to itspropsparameter. ElementMakerwill return its<span>element. But the<span>’s inner content will depend onprops.showInputEle’s value.- Suppose
showInputEleis falsy, and the second<span>element with the text"Joe Abraham"gets rendered in the browser. In such a case, the<span>’sonDoubleClickevent listener will trigger thehandleDoubleClickfunction when you double-click the text. Then,handleDoubleClick’s invocation will update the state’sshowInputEleproperty totrue. - As a result of the state update, React will automatically re-render the
HomePagecomponent, thereby triggeringElementMaker, which will check ifshowInputEleis truthy. - Since
showInputEleis now truthy, the<input>element will get set as the<span>’s inner content. - Each time the user types into the text field,
<input>element’sonChangelistener will triggerhandleChange. Then,handleChangewill update the state’sfullNameproperty with the user’s data. - Once the user clicks out of the
<input>field,onBlurwill triggerhandleBlur—which will updateshowInputEletofalse. - As a result of the state update, React will re-render the
HomePagecomponent, thereby triggeringElementMaker, which will check ifshowInputEleis truthy. - Since
showInputEleis now falsy, the<span>with theonDoubleClickattribute will get set as the first<span>’s inner content.
And there you have it! You’ve now seen how to click to edit elements in ReactJS!
Run the Application
Section titled “Run the Application”Take a look at your app in the browser by running:
npm run devYou can also try editing this tutorial’s live version.
Try It on Any React Project
Section titled “Try It on Any React Project”Although this article used a simple React project to illustrate how to double-click to edit a web page’s text, the principles covered apply to any React application. So, you can use the concepts you’ve learned to add validations or make images (or an entire webpage) editable on double-click.